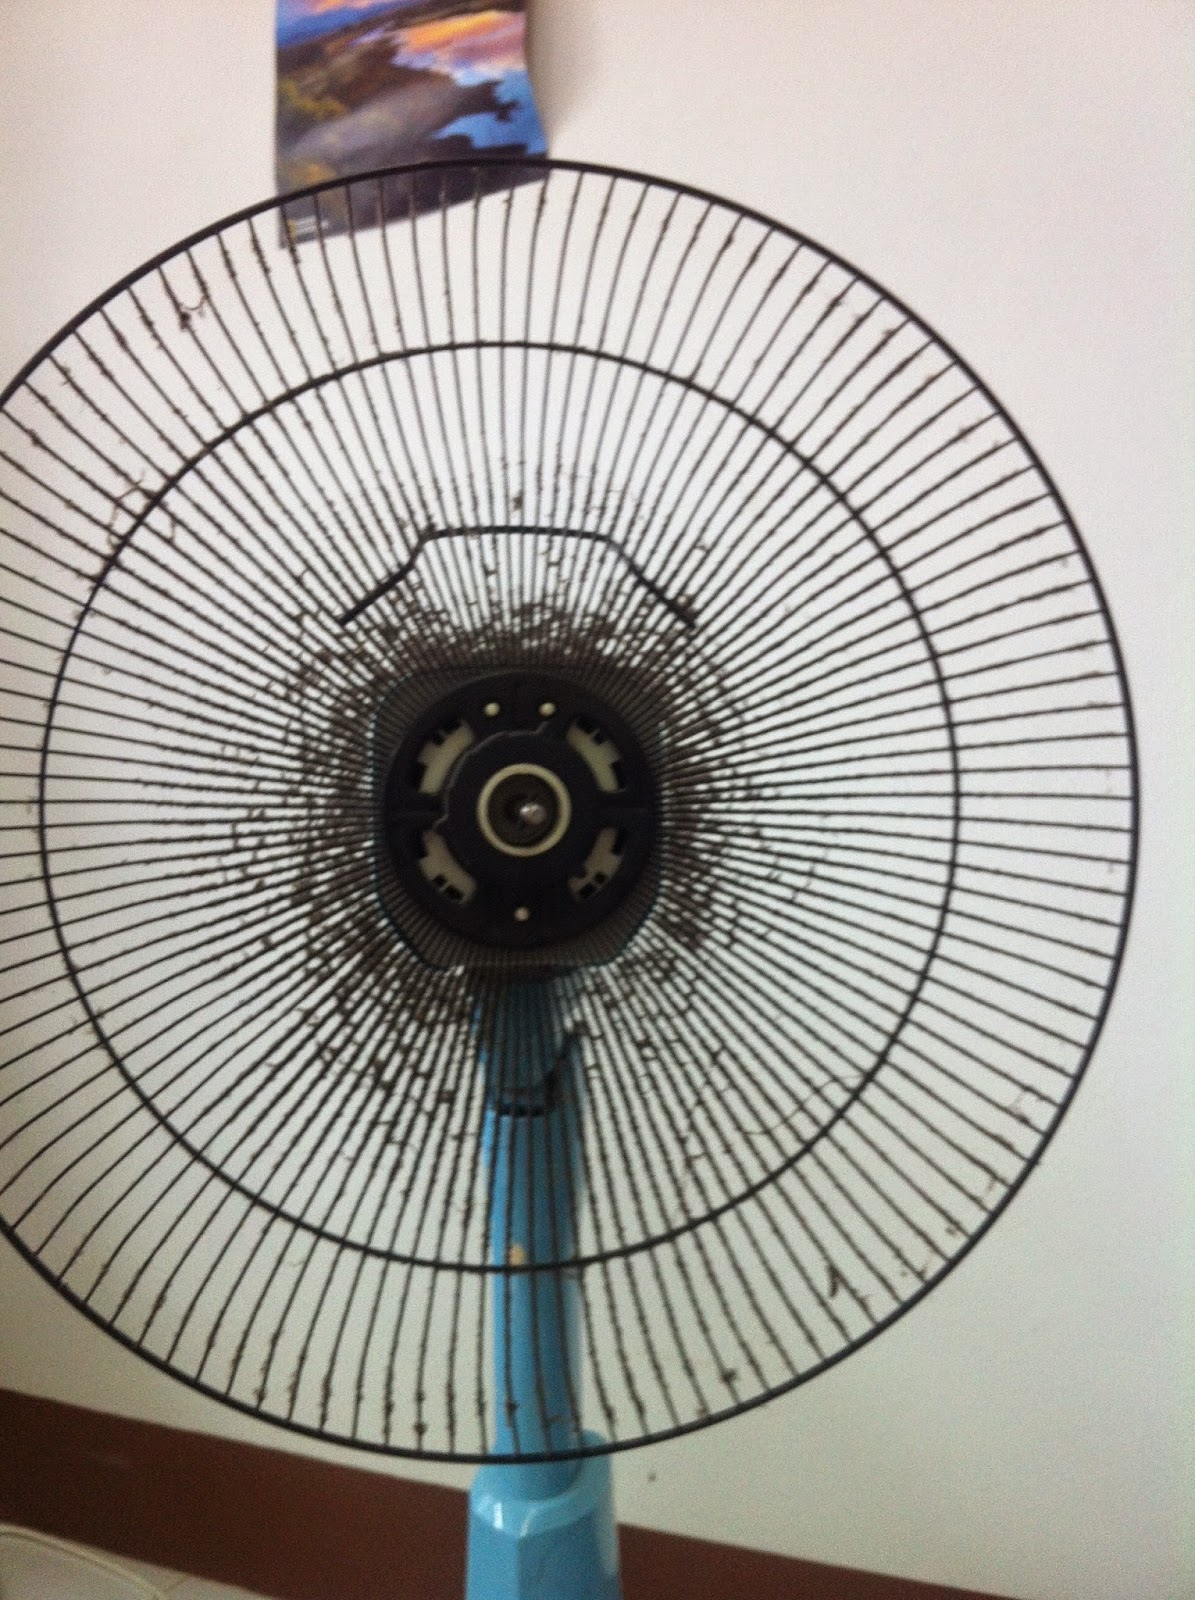
I will guide you through how to do this easy activity but will be using my own terminology for the fan parts. I'm sure there's appropriate technical terms for all the parts but I'm no technician. There's 5 easy steps and it won't take more than an hour to complete.
 |
| The dirty fan! |
STEP 1
The first thing you need to do is dismantle the fan so you can wash all the bits easily. Needless to say, make sure you have disconnected the fan from the electricity. We don't want any nasty shocks and subsequent trips to an emergency room!
There's likely to be a tab at the bottom that you pull down. This will then let you gently pull the plastic circle around the outside of the fan towards you
You may find there is a "pinch point" at the top. This plastic strap curls under on both sides to secure the guard discs and by gently lifting on one side of the strap, it will loosen and come towards you.
You then end up with the strap and the front guard disc. I usually set these to one side whilst I dismantle the rest of the fan, preferring to wash all the pieces in one go rather than getting up and down all the time but the choice is absolutely yours.
STEP 2
You should then be left with the back guard disc, the fan blades and a holding bracket. This bracket is usually clearly marked with "loosen" and "tighten" directions. See, it's so easy. In this case, turn the bracket to the left "loosen" direction until the bracket separates from the fan base.
When you're re-assembling the fan, use the right "tighten" direction
STEP 3
Having removed the bracket you can now easily remove the plastic blades. Again, I put this to one side to wash with all the other bits.
STEP 4
This will leave you with the back guard disc. Having removed the bracket and fan blades, this guard sits on some plastic pins and so will come away really easily be careful it doesn't clonk you on the head
So having dismantled your fan, this is all you should be left with, regardless how big or small your fan is. You can give this piece a dust down with a damp cloth but remember, it's this bit that houses the motor so don't have the cloth too wet and definitely don't immerse this bit in water.
STEP 5
I wash all the parts outside in a large sink and use the hose as necessary. If you're stuck for facilities just use the hose or bathtub if you're lucky enough to have one.
Follow the above steps in reverse order start with 4 and end with 1 and you'll have a fan that looks like you've just got it out of the box.
And best of all no-one, including your devoted husband, will even notice that you've spent nearly an hour of your life that you're never going to get back cleaning your fan. But you can sit on your couch with a slightly smug feeling that you have the cleanest fan in the neighbourhood. Which leads me to ....
STEP 6
Reach for the vodka / favourite tipple and get out more!


No comments:
Post a Comment
Your comments are always welcome